
Hello dear friends!
Svetlana is here today to share with you a few different projects I created this month
with Blue Fern Studios gorgeous chipboard.
I will begin with a little romantic frame I altered using some pretty chipboard pieces.
"Home Is Where The Heart Is" Altered Frame

The Princes Window I used for this project acts here rather as a door and it can actually open. I used little metal hinges to attache my window-door to the frame.

I used a sponge brush to apply gesso over my chipboard pieces. It is a very simple way to add some textured shabby look. Then I randomly added a few drops of glossy here and there and sprinkled it over with micro-beads. Once it was dry I rubbed a little gesso over the beads.

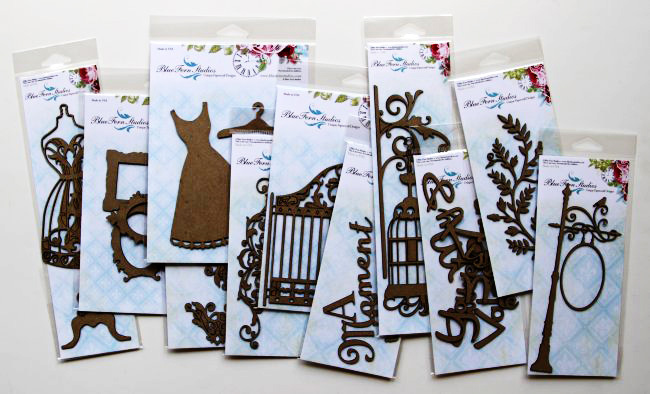
Blue Fern Studios products used for this project:
Princess Window (074578)

Country Picket Fence (074561)

"Beautiful St. Petersburg" layout

For this layout I used Village Sign Post and Ornate Medallions.
The Village Sign Post did a great job highlighting that beautiful cathedral in the background of my photo.
I covered it with black distress embossing powder. I love the uneven shiny look it gave to my chipboard -
it looks so real.

Little beautiful pieces of chipboard from Ornate Medallions set are defiantly among my favorites.
They are perfect to create some pretty embellishments to decorate your projects.
I used orange glimmer mist to color this medallion. Once it was dry I covered it with crackle accents.
You see - very simple ways to make your chipboard look perfect for any kind of projects you have in mind!

Blue Fern Studios products used for this project:
Village Sigh Post (074776)

Ornate Medallions (074462)

Decorated Drawer Unit

It have been already a while that I wanted to decorate this drawer unit to use it in my craft studio to store some bits and pieces.
I cut the small Craftsman Frame to make decorative corners. These were sprayed with glimmer mist and covered with Crackle Accents for nice antique look.

Blooming Foliage was also cut in many small pieces to create pretty accents in the flower clusters I added to some of the drawers. I painted them with gesso then rubbed some areas with green ink and some areas with blue liquid pearls. I finished it off with Glossy Accents. I decorated the butterfly in the same way.

Blue Fern Studios products used for this project:
Craftsman Frame (074949)

Brigitte Butterfly Set (074387)
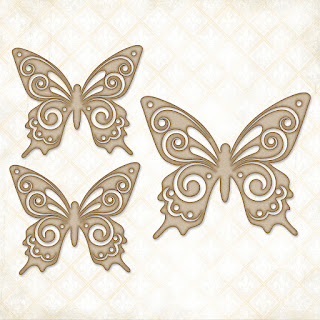
Blooming Foliage (074851)

I hope you were inspired to create something beautiful with Blue Fern Studios gorgeous chipboard.
Don't forget to share with us your projects in our gallery.
Thank you for visiting our blog today! Keep on coming - there is always something new and exciting!
Keep well!


