Hello friends!
I'm in today to share two projects I've created for Blue Fern Studios, using the Ombre Dreams paper collection, as well as their beautiful chipboard pieces.
Lucky
My first project is a layout of my two boys.

I've used Charlotte's Dream from the Ombre Dreams collection as my background paper and added some misting, masking with texture paste and random stamping to further highlight the beautiful watercolor effects already printed on the paper itself. I also used a cut out from Dream Cards as a subtitle.
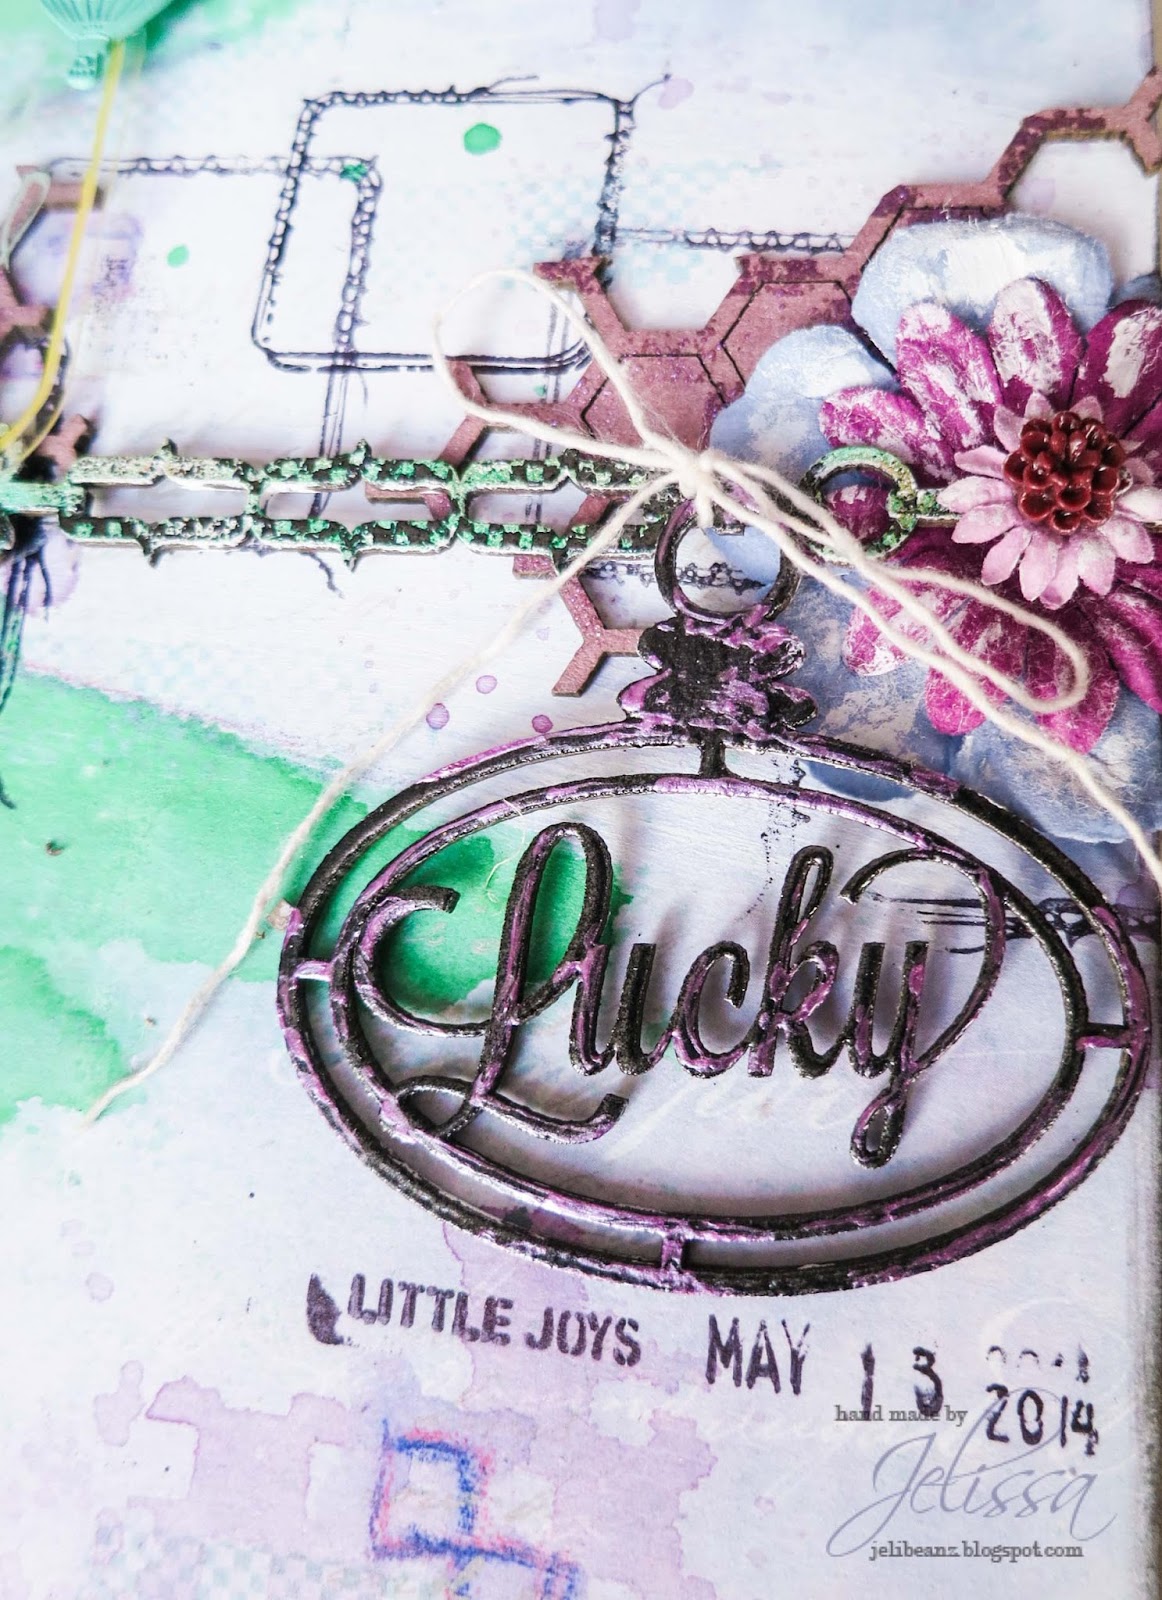
The "Lucky" chippie from Charmed Page Dangles was cut into two pieces and the word used as my title. I did some heat embossing in black and smeared purple dimensional paint over for highlight.

The other half of the chipboard was first colored with gelato, followed by some stamping with Versamark and heat-embossing.

I used only one piece of the Honeycomb bits here, but snipped it into three parts which I layered throughout my page. It was first misted followed by random sprinkling with a mauve-tinted embossing powder.
Blue Fern products used:
Charlotte's Dream
Dream Cards
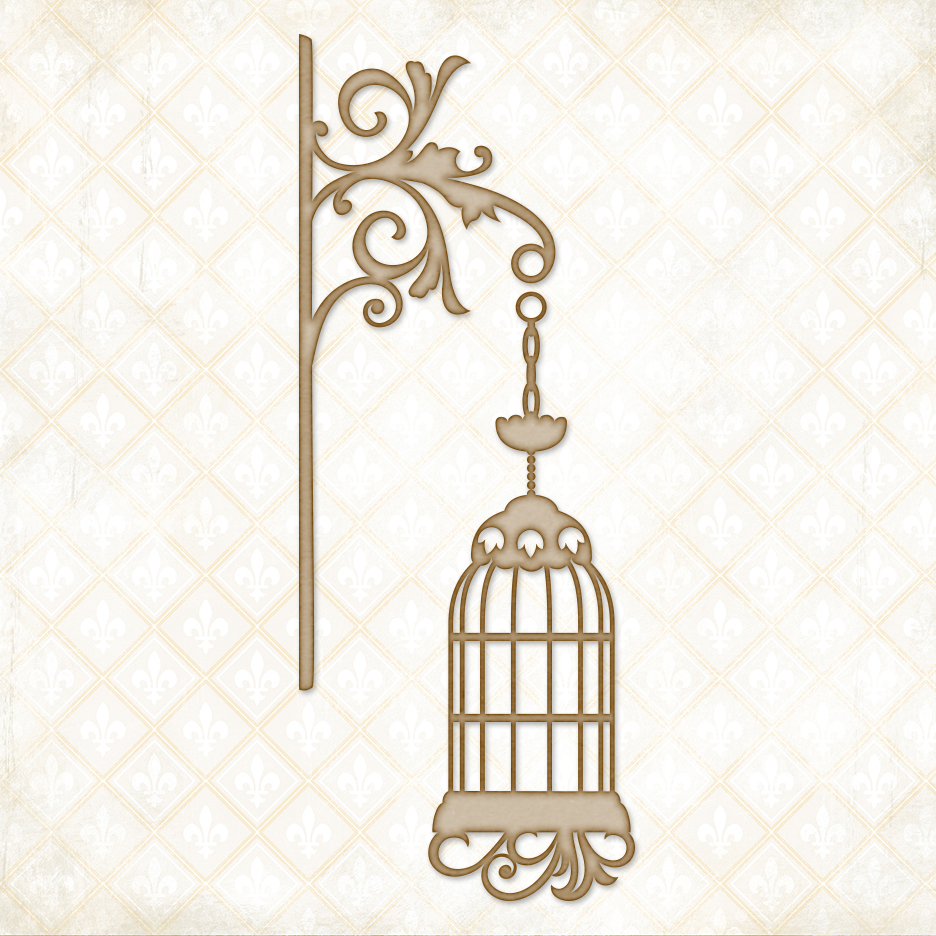
Charmed Page Dangles
Bits of Honey
All Dressed Up
My second project is a mixed media canvas I made as a birthday gift for a very talented friend who runs her own fashion designing label.

When I saw the Sweetheart dress form, I knew it was meant for her and there is also a similar mannequin on display in her office reception.

The chipboard was covered with gesso and I made a dress out of some organza curtain fabric, which I decorated with some tulle and organza roses, aqua sequins and mini paper roses. I also snipped the Majestic Frame in half and covered it with gold glitter.

My little cluster here is full of bits from the Miss Tailor set. I covered the spool with a fine layer of gold shimmer. The buttons I used Liquid Pearls and for the scissors I used my gold textured paste. The other half of the majestic frame is tucked beneath the flowers and also dipped in gold glitter.
Blue Fern products used:
Sweetheart Dressform
Miss Tailor Set
Majestic Frame
That's all I have for today. Do check back soon for more inspiration from the rest of the lovely DT!
love,
Jelissa
Jelissa