Woah! Already a whole year since my first post with you here. :)
I'm really happy to present you again my inspirations. I'll start fist, by thanking you for all your good comments throughout the year, a lot of happiness every month. Thanks so much!
I'm really happy to present you again my inspirations. I'll start fist, by thanking you for all your good comments throughout the year, a lot of happiness every month. Thanks so much!
Let me introduce my first layout of month, where winter seems so sweet and magical...
... but it's just an illusion... LOL
*Let it snow !*
(Vintage Christmas)
*Let it snow !*
(Vintage Christmas)

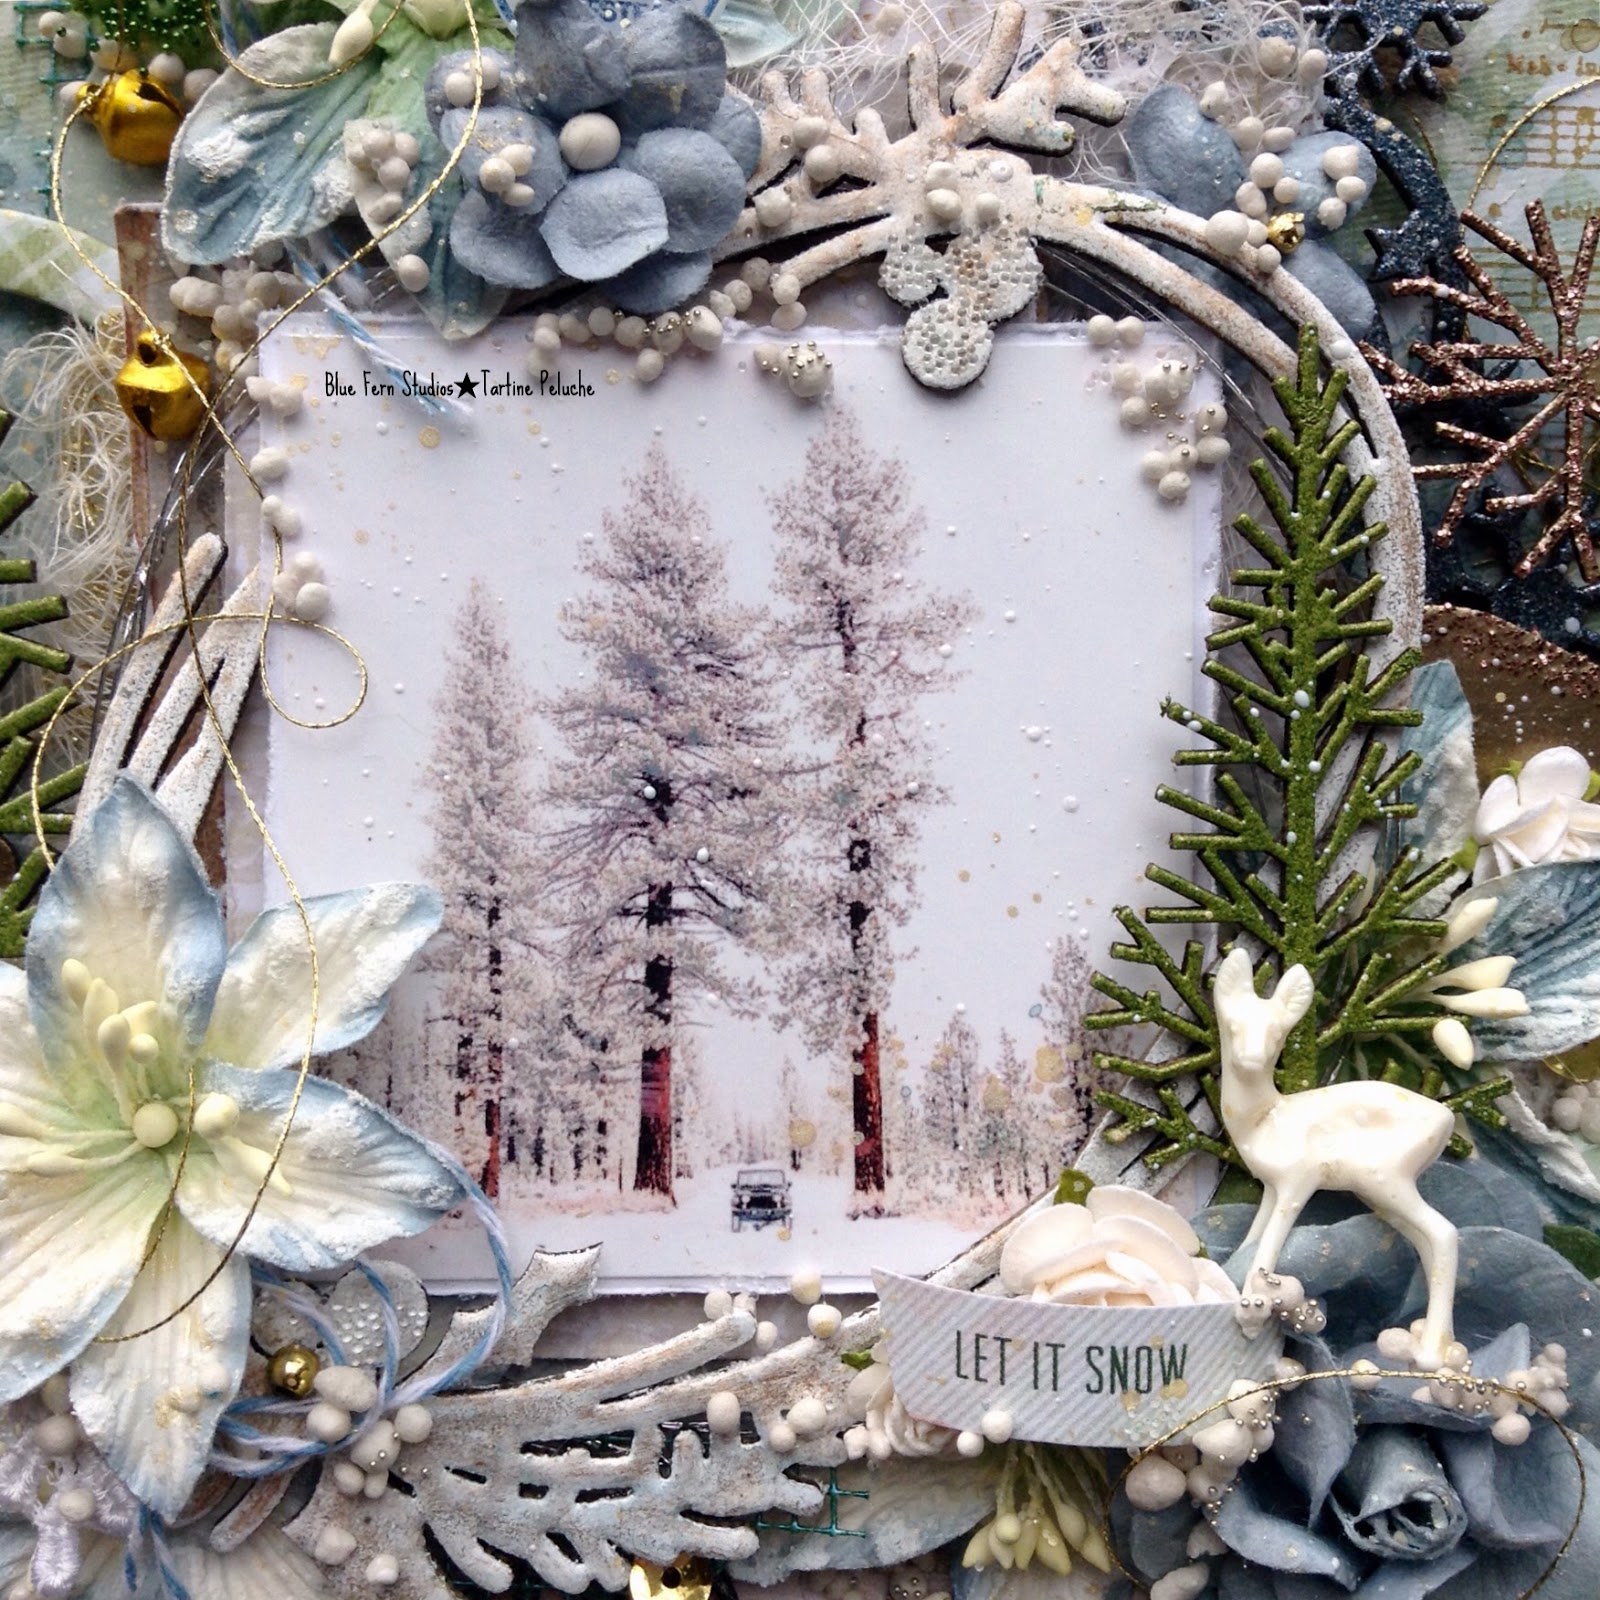
I start by doing my central part using the chipboard *Holly Frame, I embossed it with Snow powder and I altered it with a little bit of gold wax paste. On the berry I added *Glass seedlings. Then I embossed with *Avocado powder my firs chipboards. I placed a few flowers of the collection *Wanderlust and Tranquil Roses & Lilies ( Sorry these are no longer available )
I cut my Title ''Let it Snow'' on the trim paper.

I used stamp * Jingle Bells with brown solvent ink pad, added some pretty flowers and leaves frome *Wanderlust Vine to which I added two shades of green seedlings,* Fir Tree and * Green Leaf.
My ''Homestead'' embellishment is made by stamping on shrink plastic, I love it!
You know I'm addicted...
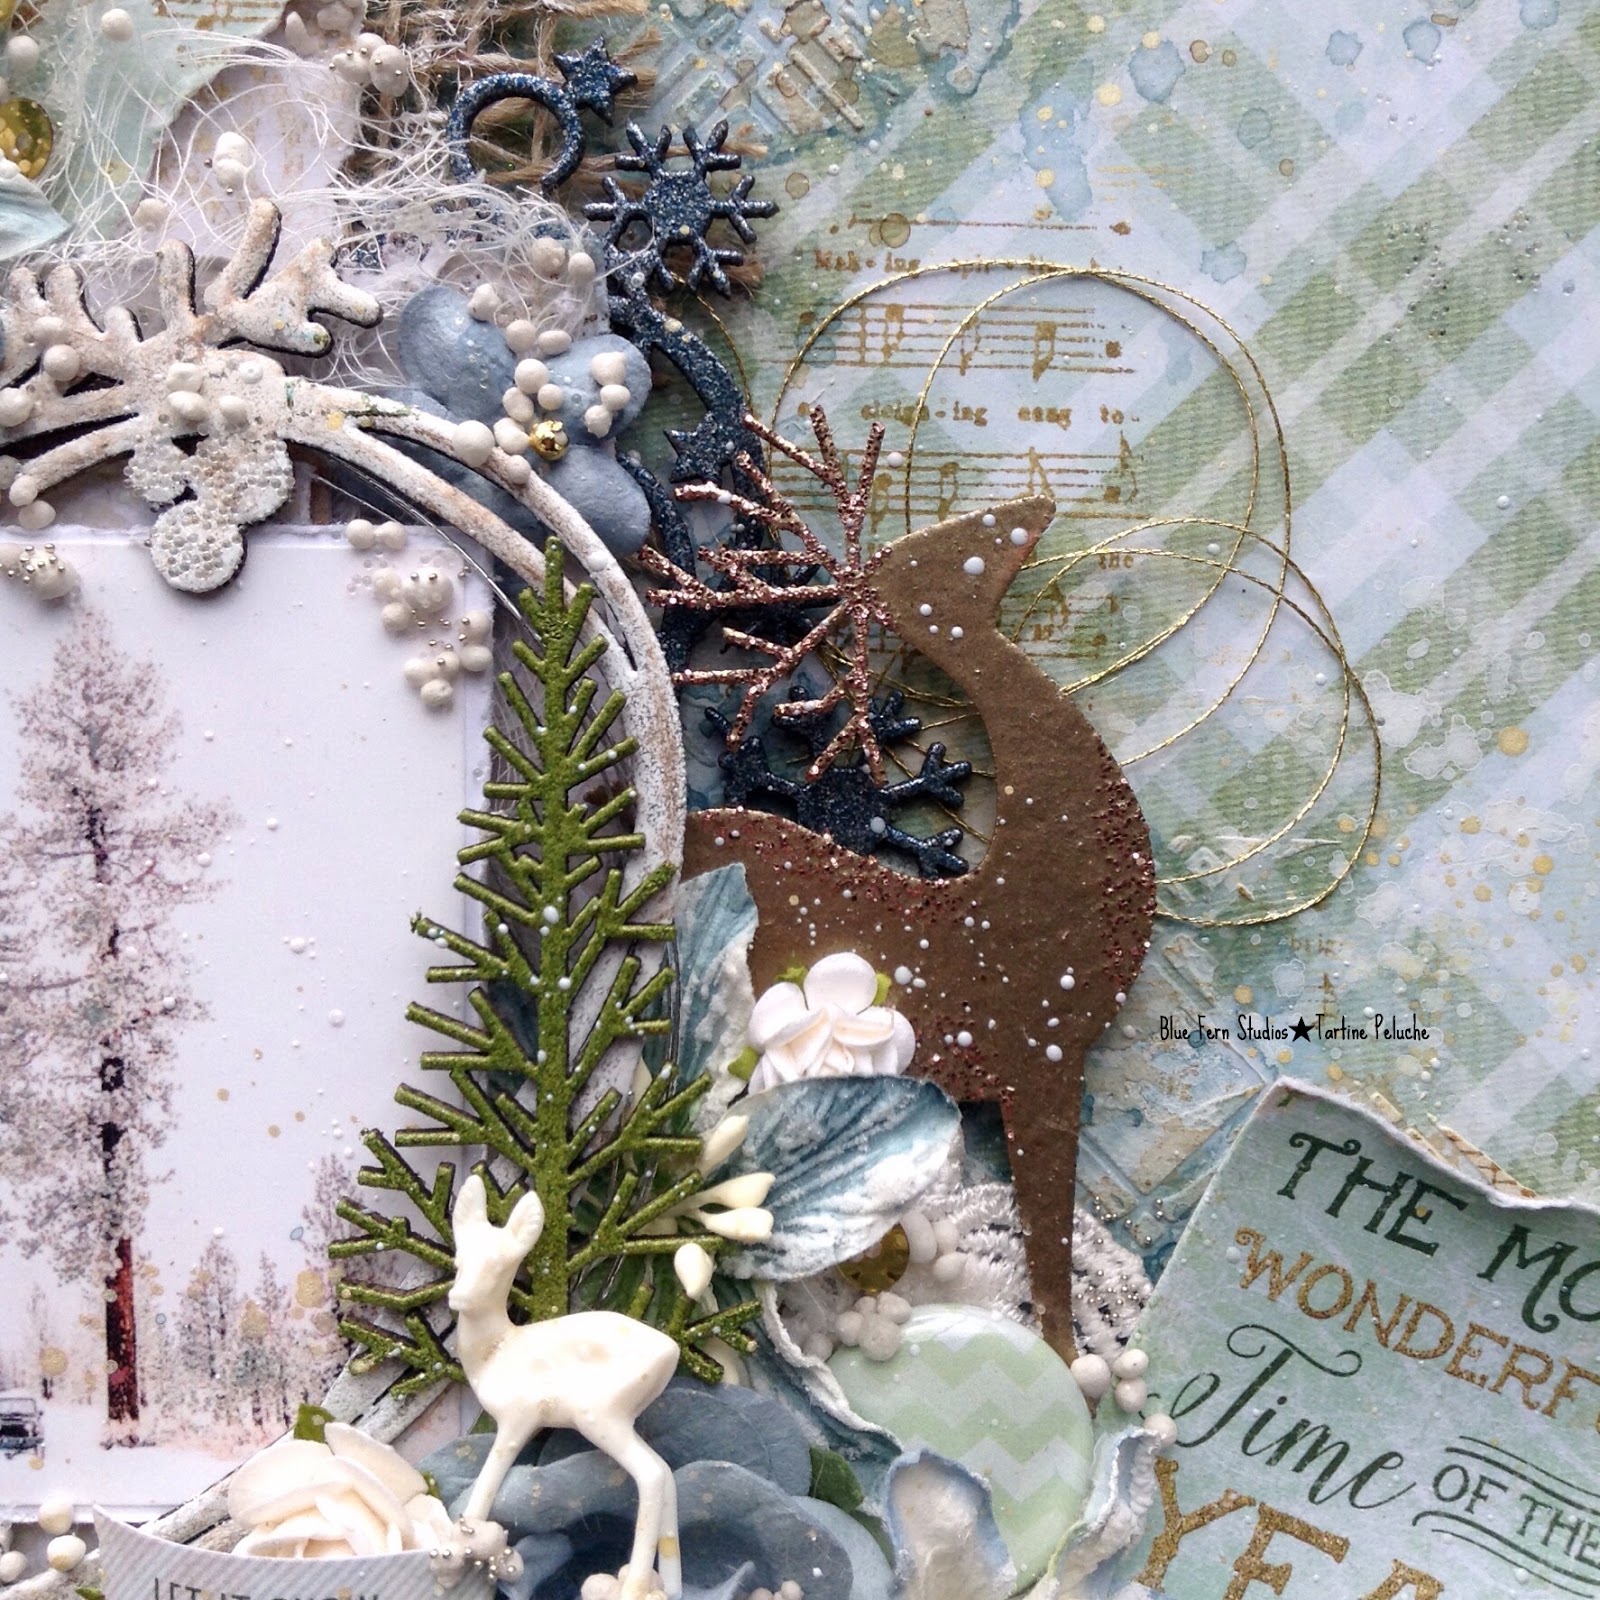
My deer... I'm in love with him ... LOL
I started by embossing in *Taupe, then I added *Hot Cocoa powder, two shades of
golden brown. Under the deer I placed some of the chipboard *Snow Medley
that I embossed with *Stormy Skies powder.
A little golden thread and you're done!

Some pieces of golden *lace 9C adds luxury to my layout.

To balance my layout of the color taupe, I added a small chipboard from Leafy Page Accents kit.
You can see the other piece of *Snow Medley under my flowers and fir. I cutted the bird on the paper Wonderland.
************************************
*Products I've used:Paper:
* Greeting Cards
* Wonderland
* Let it Snow
Chipboards:
* Holly Frame
* Winter Forest
* Snow Medley
* Leafy Page Accents
* Wanderlust Words
* Vintage Christmas-Printed Chipboard
Embossing Powder:* Avocado
* Taupe
* Fern
* Stormy Skies
* Snow
* Hot Cocoa
Flowers:* Wanderlust Lilies
* Wanderlust Vine
* Tranquil Roses & Lilies (Discontinued)
Stamps:
* Christmas Chimney
* Jingle Bells
* Homespun Spots
Seedlings:
*Fir Tree
* Green Leaf
* Sterling Silver
* Glass
Lace:
* Lace 9C (gold)
* Lace 7B (white)
************************************
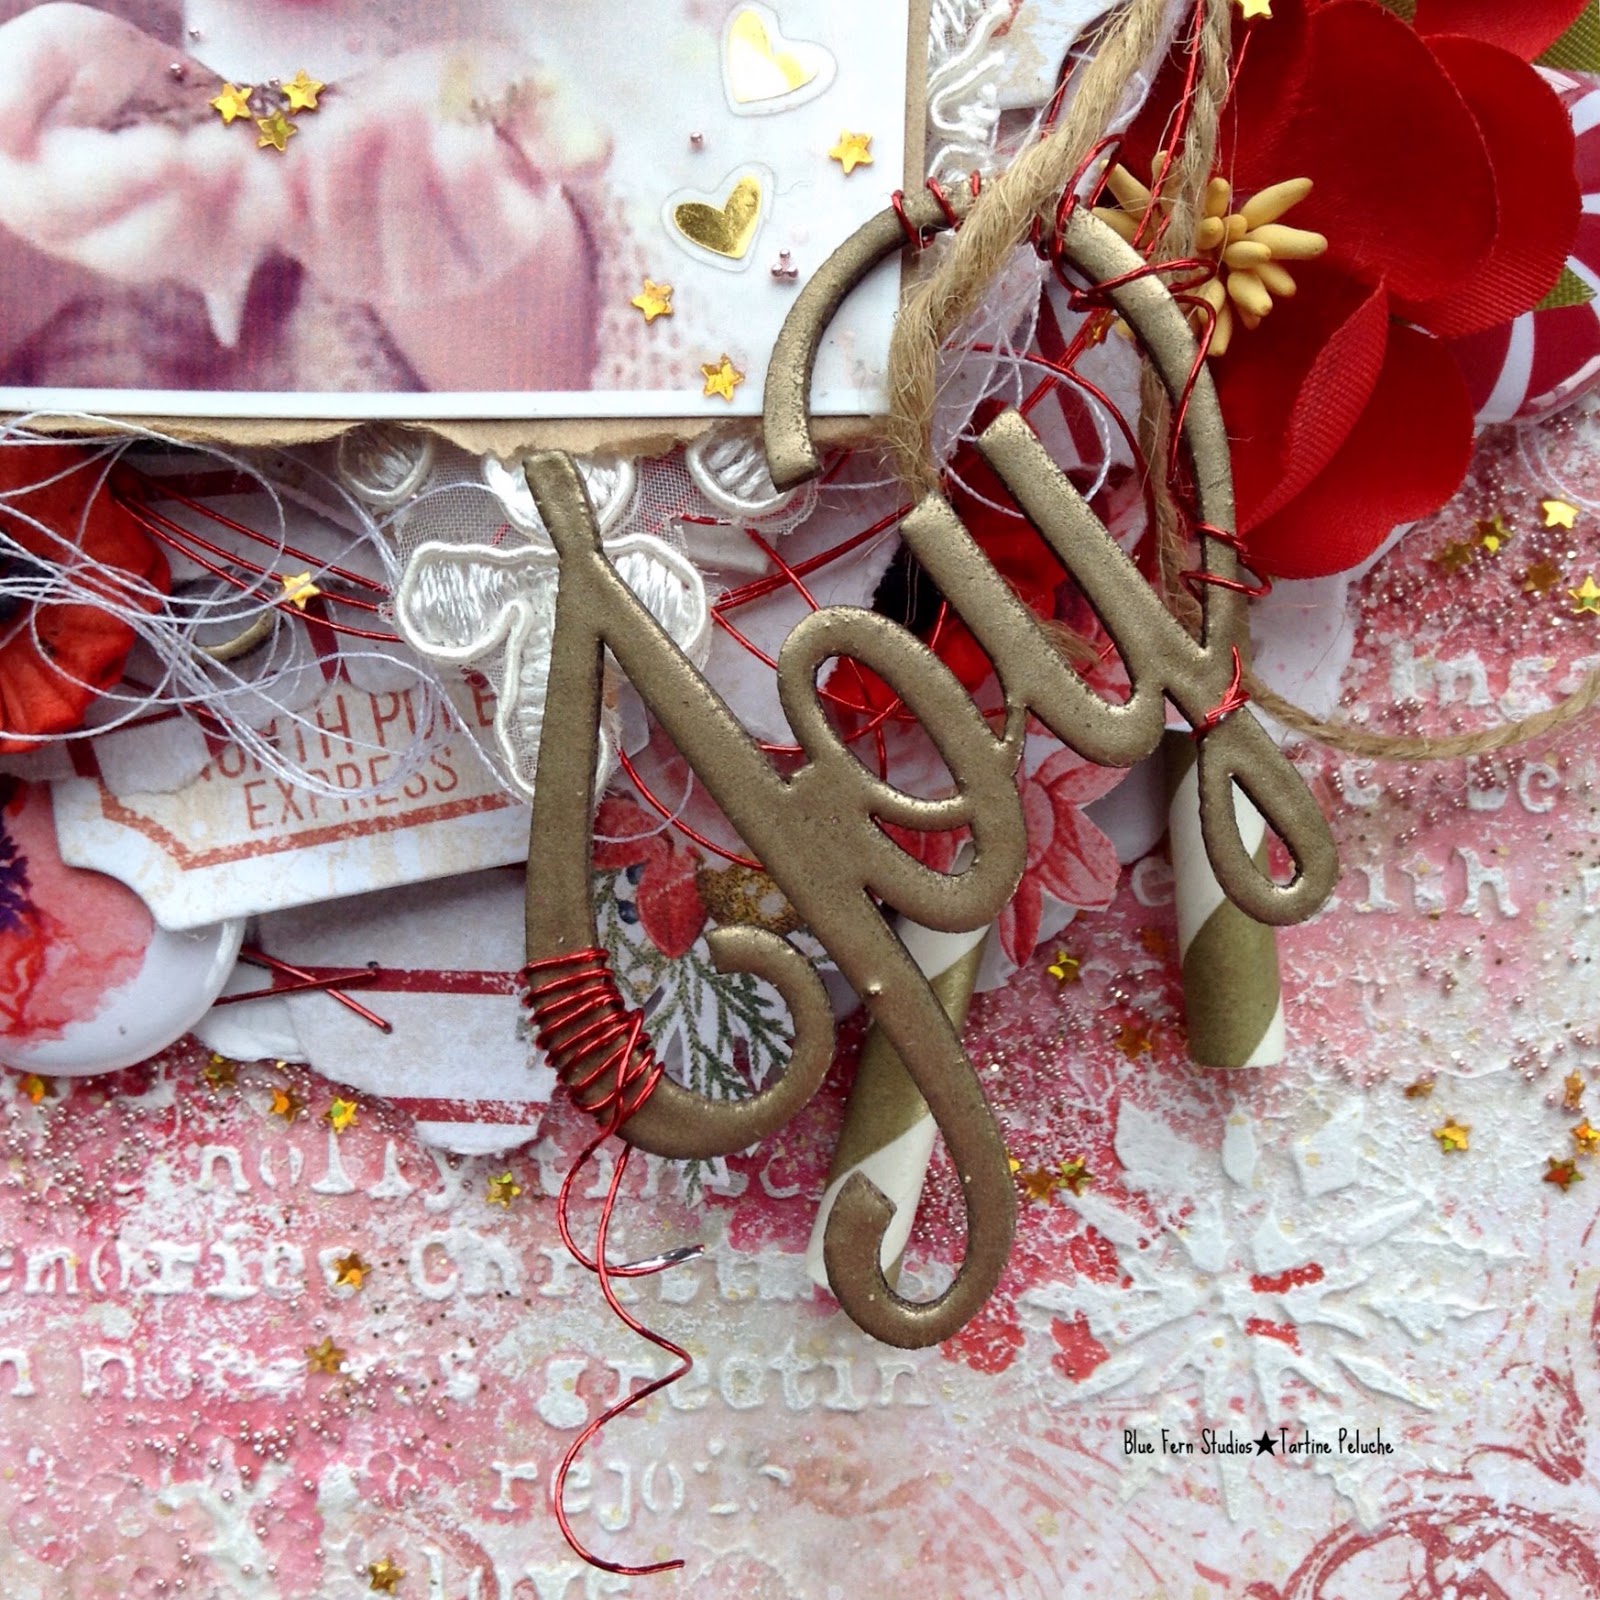
*Hello December*
( Vintage Christmas )
My second layout also has Christmas theme.

I used 2 stencils and green ink, on my modeling paste I added *Snow* powder to emboss it.
Then I used the central part of the paper *Magical* to begin my arrangement.
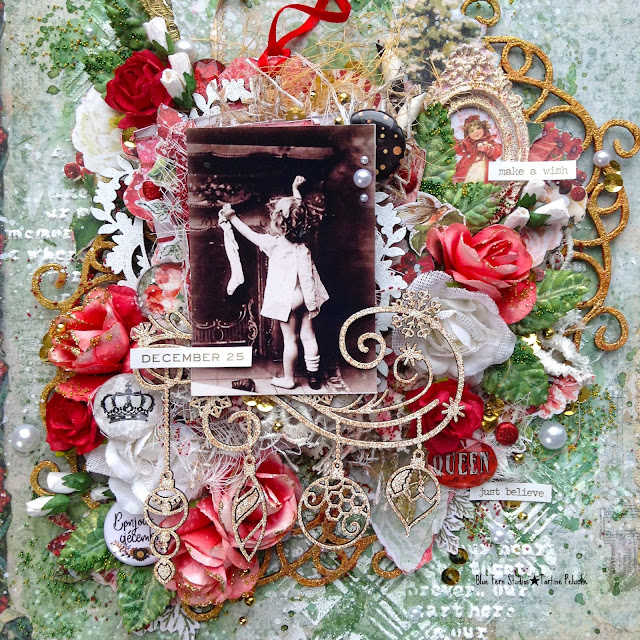
In first, picture give all the magic to my layout, I've found it on Pinterest...
Then, the beautiful chipboard Holidays Bright embossed with *Oatmeal*.
Under this chipboard, a mix of BFS flowers, *Attic Charm Glitter Roses* and *Happy Roses*

Close up on the seedlings, I used also Flaming (red) on my background.

***
Blue Fern Studios Products:
Papers:
- Noel
- Let it Snow
- Wonderland
- Magical
Chipboards:
- Mandala Frame
- Lace Rounds
- Holiday Bright
Embossing Powder:
- Oatmeal
- 14 Karats
- Snow
Flowers:
- Happy Roses
- Attic Charm Glitter Roses
Laces:
- Lace 6
- Lace 9C (Gold)
Seedlings:
- Fir Tree
- Green Leaf
- Mustard
- Flaming
************************************************
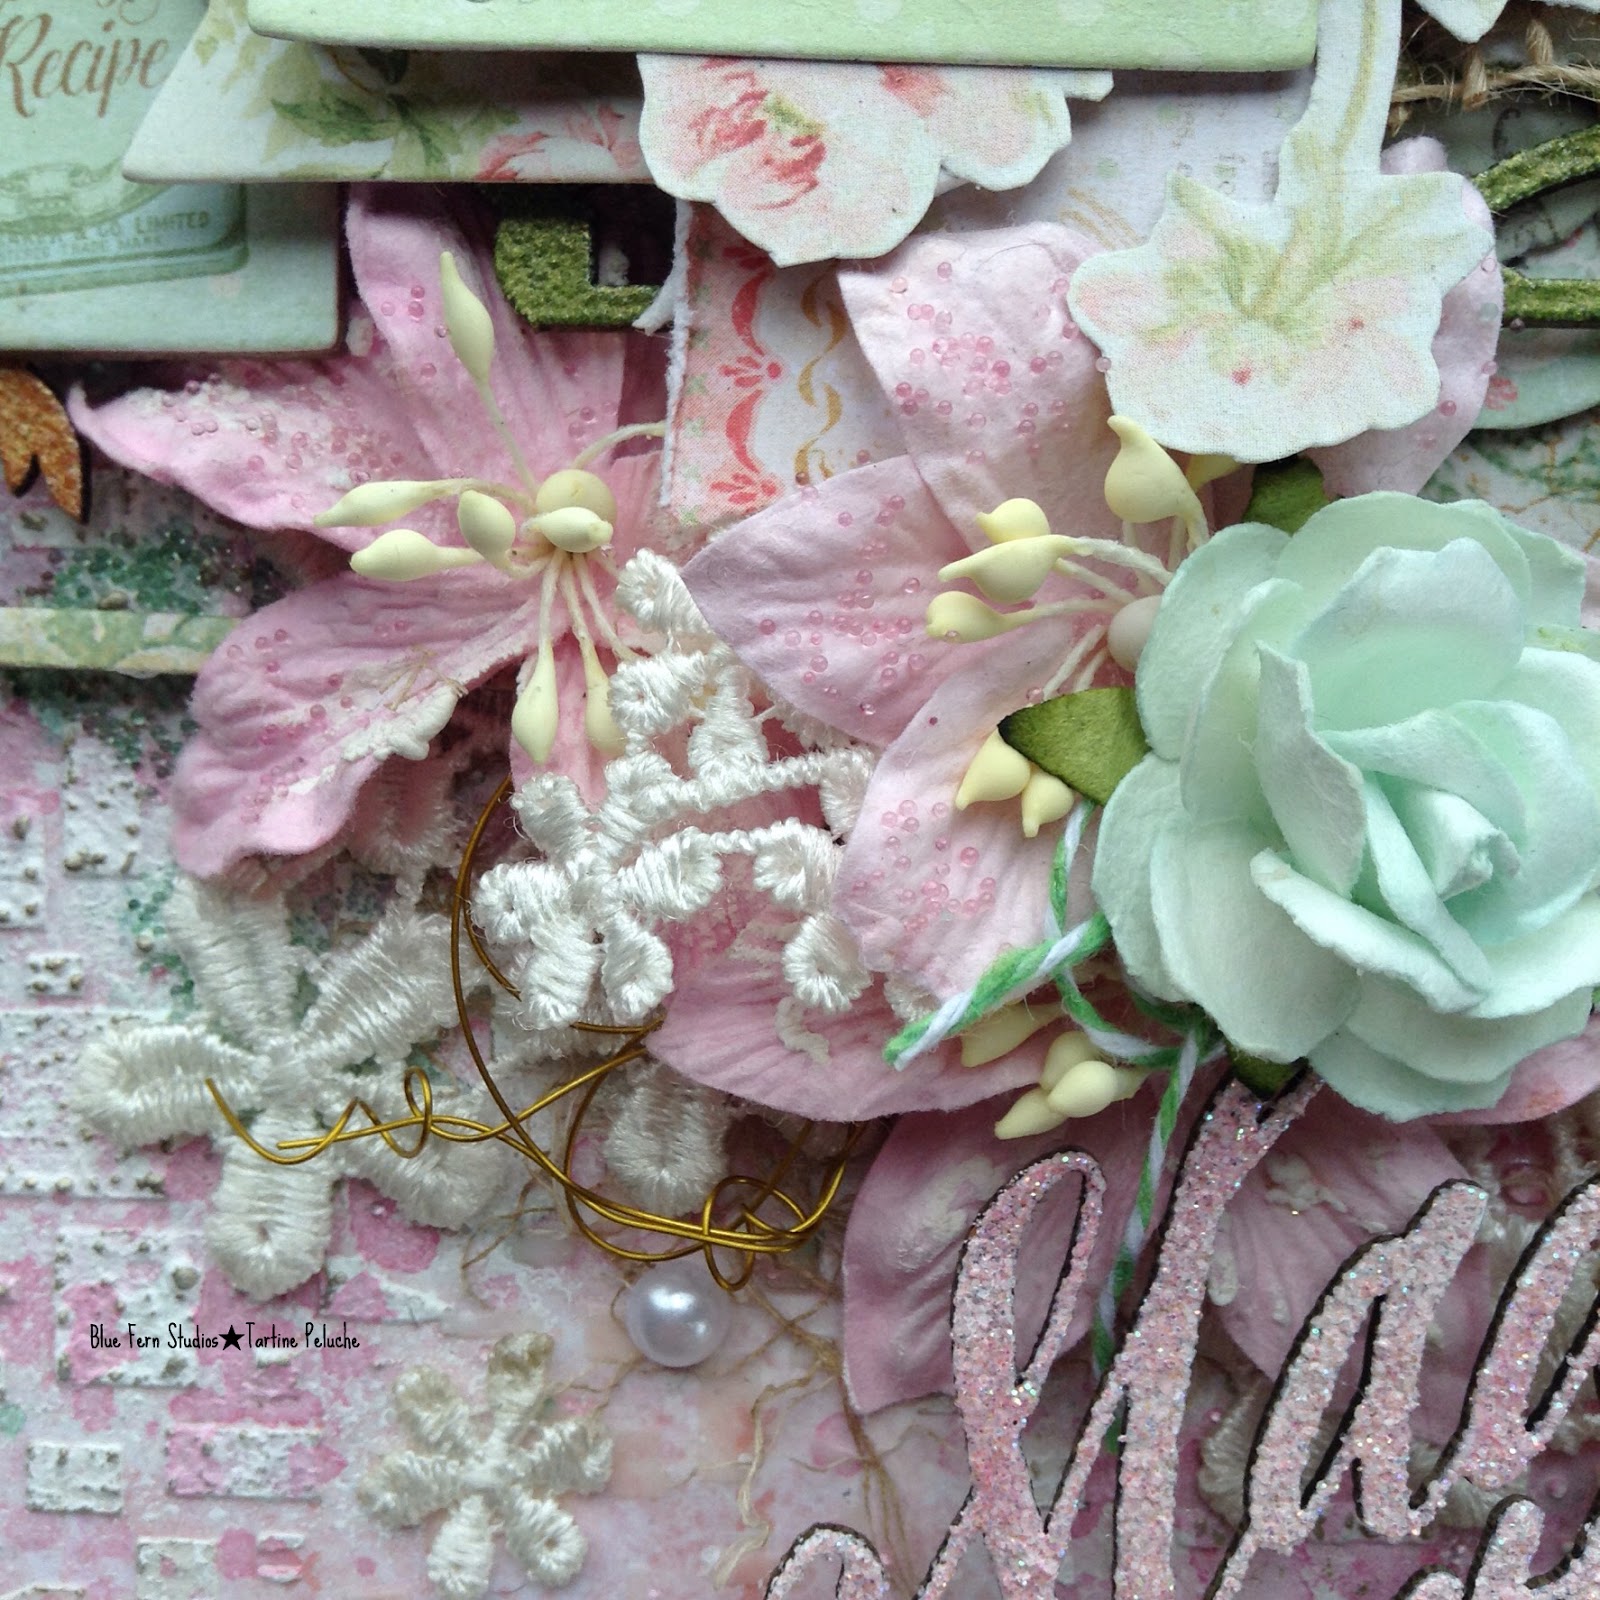
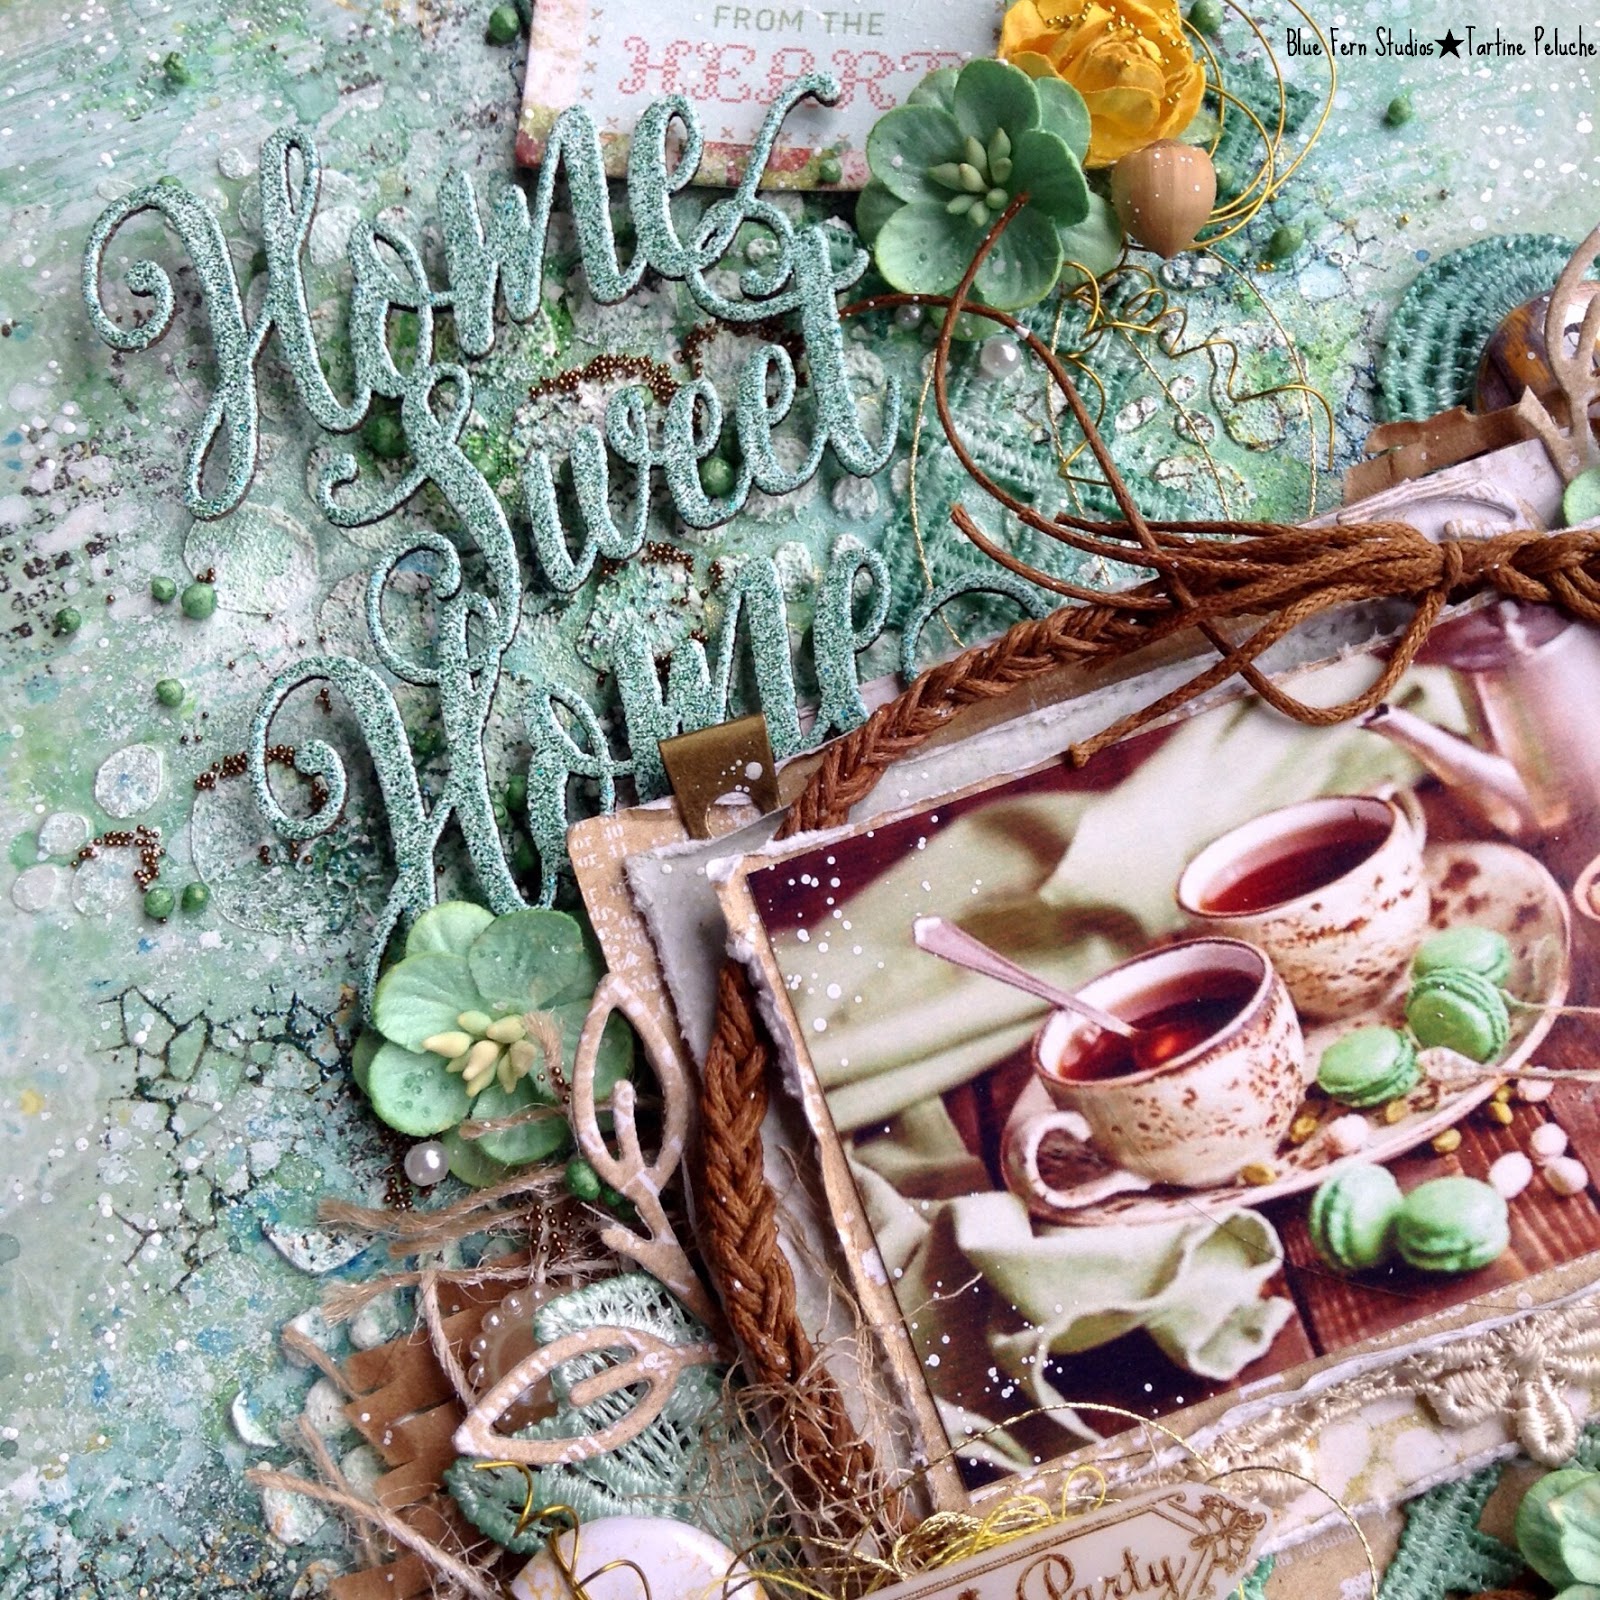
*Home Is Where The Heart Is*
( Homespun)
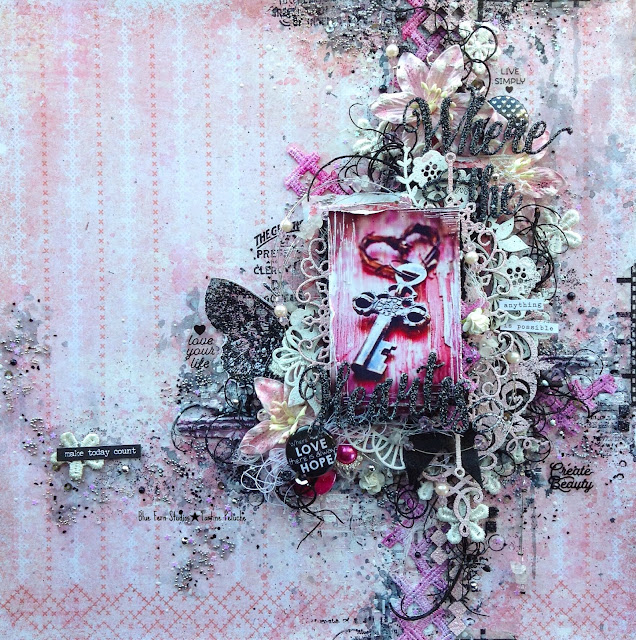
First, I must say that I did'nt know how to work this chipboard, and THE idea has arrived.
So I cut the chipboard and I only keep the part *WHERE THE HEART IS*

I used a part of stamp Christmas Chimney on my background.
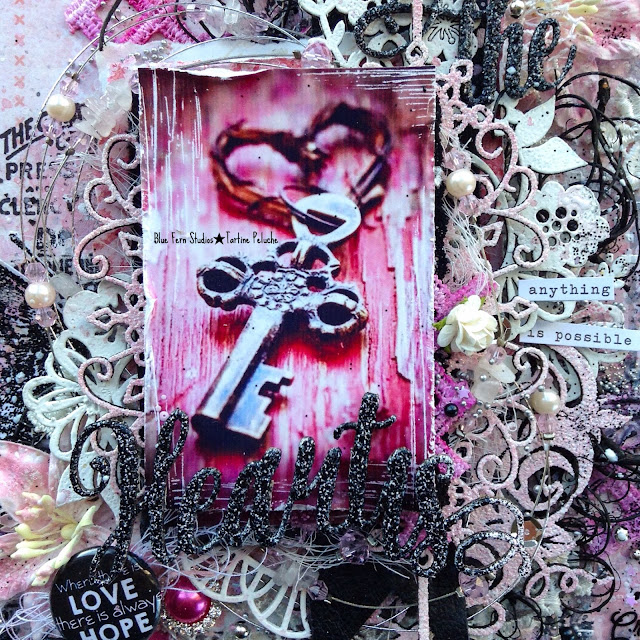
To explain the different layers, start with the photo. Under this one a first chipboard, *Frilly Bauble* embossed with a mix of two powders: Baby Pink and Bubble Gum. I cut it in half and I put on each side of the photo. Then, on each side again, two pieces of *Rose Wreath* embossed in snow
and to finish *Belfast Bouquet* also embossed with two powders, pink rose and bubble gum.
My title is a succession of error: embossed in *Baby Pink* after with *Ebony* powder and to finish with *Bubble Gum* ... Don't know if I do it again I can have the same result LOL
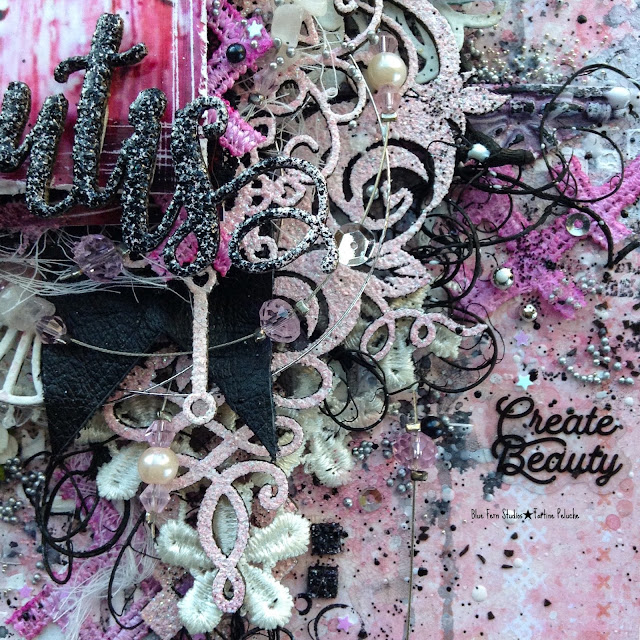
I used the lace7B that I've teinted for adding texture on my background.

I stamped a butterfly ( from Spring Accents stamp) on a paper
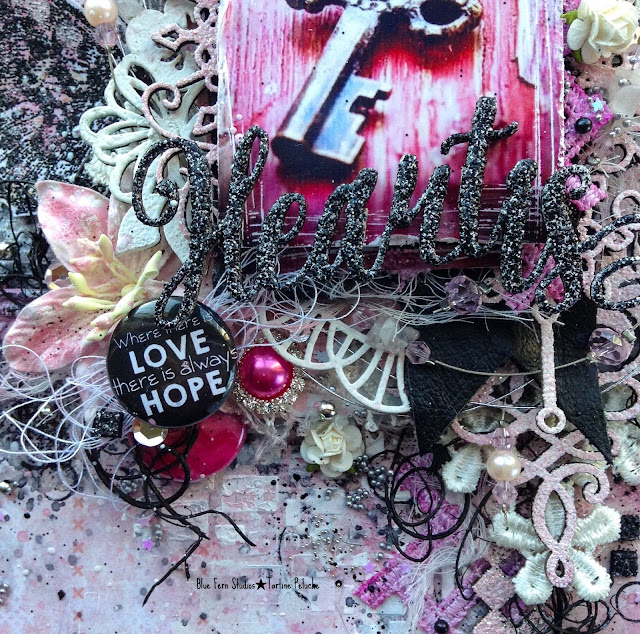
I love lilies flowers , this one come from *Dark Tropic Lilies*
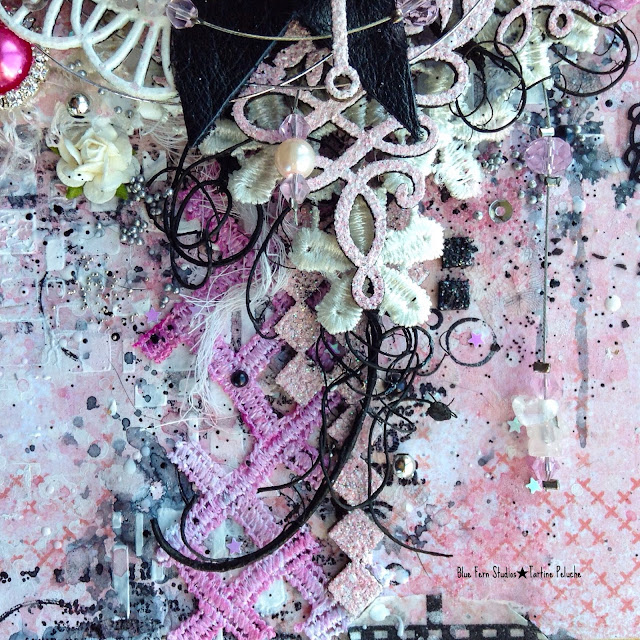
You can see, on the next photo, under *Belfast Bouquet* a piece of Lace6 and another piece of Lace7B.
Between the laces *Checker Bits* embosed in *Baby Pink*
Blue Fern Studios Products:
Paper:
Calling Cards
Chipboards:
Home Is
Checker Bits
Frilly Bauble
Belfast Bouquet
Rose Frame
Rose Wreath
Embossing Powder:
Bubble Gum
Baby Pink
Snow
Glitters:
Soot
Stamps:
Christmas Chimney
Tattered Newsprint
Grungy Grid
Spring Accents
Flowers:
Dark Lilies Tropic
Lace:Lace 6
Seedlings:
Sweet Pea
Sterling silver
************************************
*Not All Who Wander Are Lost*
(Happy Accident)
************************************
*Hello December*
( Vintage Christmas )
My second layout also has Christmas theme.

I used 2 stencils and green ink, on my modeling paste I added *Snow* powder to emboss it.
Then I used the central part of the paper *Magical* to begin my arrangement.

In first, picture give all the magic to my layout, I've found it on Pinterest...
Then, the beautiful chipboard Holidays Bright embossed with *Oatmeal*.
Under this chipboard, a mix of BFS flowers, *Attic Charm Glitter Roses* and *Happy Roses*

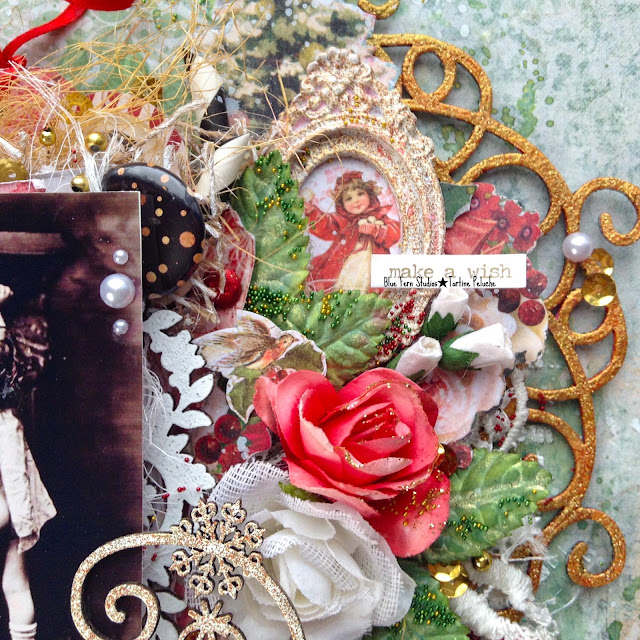
The small frame on the right side is in polymer paste and I embossed it with *Oatmeal* powder too.
The little girl come from paper *Let It Snow*. Under this frame you can see an half of the chipboard *Mandala Frame* embossed with *14Karats* I added a little bit of red ink on top.
Some seedlings on leaves, I choose two shades of green: Fir Tree and
The little girl come from paper *Let It Snow*. Under this frame you can see an half of the chipboard *Mandala Frame* embossed with *14Karats* I added a little bit of red ink on top.
Some seedlings on leaves, I choose two shades of green: Fir Tree and
Green Leaf and a bit of yellow: Mustard seedling,

Close up on the seedlings, I used also Flaming (red) on my background.

***
Blue Fern Studios Products:
Papers:
- Noel
- Let it Snow
- Wonderland
- Magical
Chipboards:
- Mandala Frame
- Lace Rounds
- Holiday Bright
Embossing Powder:
- Oatmeal
- 14 Karats
- Snow
Flowers:
- Happy Roses
- Attic Charm Glitter Roses
Laces:
- Lace 6
- Lace 9C (Gold)
Seedlings:
- Fir Tree
- Green Leaf
- Mustard
- Flaming
************************************************
*Home Is Where The Heart Is*
( Homespun)

First, I must say that I did'nt know how to work this chipboard, and THE idea has arrived.
So I cut the chipboard and I only keep the part *WHERE THE HEART IS*

I used a part of stamp Christmas Chimney on my background.

To explain the different layers, start with the photo. Under this one a first chipboard, *Frilly Bauble* embossed with a mix of two powders: Baby Pink and Bubble Gum. I cut it in half and I put on each side of the photo. Then, on each side again, two pieces of *Rose Wreath* embossed in snow
and to finish *Belfast Bouquet* also embossed with two powders, pink rose and bubble gum.
My title is a succession of error: embossed in *Baby Pink* after with *Ebony* powder and to finish with *Bubble Gum* ... Don't know if I do it again I can have the same result LOL

I used the lace7B that I've teinted for adding texture on my background.

I stamped a butterfly ( from Spring Accents stamp) on a paper

I love lilies flowers , this one come from *Dark Tropic Lilies*
You can see, on the next photo, under *Belfast Bouquet* a piece of Lace6 and another piece of Lace7B.
Between the laces *Checker Bits* embosed in *Baby Pink*

Blue Fern Studios Products:
Paper:
Calling Cards
Chipboards:
Home Is
Checker Bits
Frilly Bauble
Belfast Bouquet
Rose Frame
Rose Wreath
Embossing Powder:
Bubble Gum
Baby Pink
Snow
Glitters:
Soot
Stamps:
Christmas Chimney
Tattered Newsprint
Grungy Grid
Spring Accents
Flowers:
Dark Lilies Tropic
Lace:Lace 6
Seedlings:
Sweet Pea
Sterling silver
************************************
*Not All Who Wander Are Lost*
(Happy Accident)

A simple layout, use only one stencil, ink and a lot of glitters.

For all my chipboards, I've colored with pencils and I added clear embossing powder.
I've mixed my glitters together and spread them with gel medium it seem like mica flakes...

I really love this stamps! Tattered Newsprint ...


Products I've used:
Paper:
* Windfall
Chipboard:
* Buttons and Bows
Glitters:
* Spring Posy
* Burnt Copper
Stamps:
Tattered Newsprint
************************************
Thank you so much!
See you in 2018 for another inspirations.
Tartine xox
Paper:
* Windfall
Chipboard:
* Buttons and Bows
Glitters:
* Spring Posy
* Burnt Copper
Stamps:
Tattered Newsprint
************************************
Thank you so much!
See you in 2018 for another inspirations.
Tartine xox