Have you all had a wonderful Christmas?
I spent my time at home with my family.
Today I would like to introduce three Christmas layouts!
【joy】

I love paper of this red stripe!
However, anything becomes much the same when based on this.
So I made half daringly this time and used it.


Corner chip board was processed with ANTIQUEGOLD embossed powder.


The letter of the title posted red glitter FIRE ENGINE.
A layout of Christmas may become a lot gorgeous.

I also pressed the clear stamp.

<Blue Fern Studiso>
Paper Vintage Christmas 2 - Holiday Treats/Holiday Cards/Let it Snow
Vintage Christmas - Greeting Cards
Chipboard Dangled Flake/Chunky Words/Formal Corners
Glitter FIRE ENGINE
Embossing Powder ANTIQUEGOLD
Flower Christmas Blooms
Stamp Christmas Collage
【wish】

Very pale light blue color friendly atmosphere paper.
But since the ornament of the colorful tree was reflected in the photograph
I dared to make a monochrome photograph.


This neighborhood attached various textures.
The light blue lame is very beautiful with light blue and silver mixed!

I applied a brick texture with Modape.
I was able to meet before drying so that
the surface can be traced like a toothbrush
so that irregularities can be made.

Because I wanted the snow here to feel a bit frozen
I used GLOSS GEL and dyr glitter.

I also used a stamp here.
It will be tightened if a little black comes in.
<Blue Fern Studiso>
Paper Vintage Christmas - Auld Lang Syne/ Wonderland
Chipboard Winter Cabin/Wish, Wonder, Dream
Glitter SILVER PRISM
Embossing Powder PEAL/FROZEN
Flower Soft Blossoms/Christmas Blooms
Stamp Christmas Collage
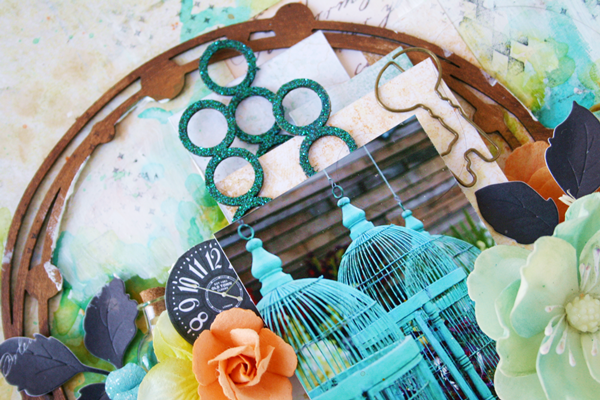
【Cool Christmas】

The end is a little classical feeling.
The picture is Christmas
in Harry Potter area of Universal Studios Japan!
I went to the other day,
but it is different from colorful tree etc. in USJ
Very chic and cool image tree and cityscape.
So I tried making it a little cool.
I'm really happy to use this picture !

I also did this coloring method in my class
It is a process to make two color embossed powder overlap.
This method is favorite because it can be used anything at all .

The fluffy snow is piled up!

I also made snow on the flowers.


<Blue Fern Studiso>
Paper Vintage Christmas - Noel/Deck the Halls
Vintage Christmas 2 - Holiday Cards
Chipboard Star of David Set/Ironwork Edges/
Glitter PYRITE
Embossing Powder EBONY/GINGER
Flower Christmas Blooms
Blue Fern Studios' DT that I had for three years
is also the last in this month.
At first there is only a chip board,
Although shops handled in Japan
were also few manufacturers
It has become a very famous manufacturer
in the past few years since paper has been released!
I was really happy to be involved with Blue Fern Studios ❤
I never thought I could do it for three years
I was really happy!
I also appreciate Valerie who always reply me gently
in my poor English!
DT is over, but I love Blue Fern Studios ❤
I'm going to use a lot to continue making works!
Thank you very much!